| 1. System Settings- New Option to Display either User ID or Employee ID in the Listings |
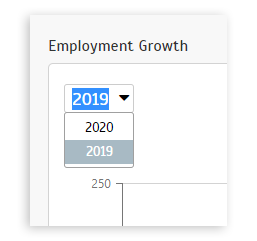
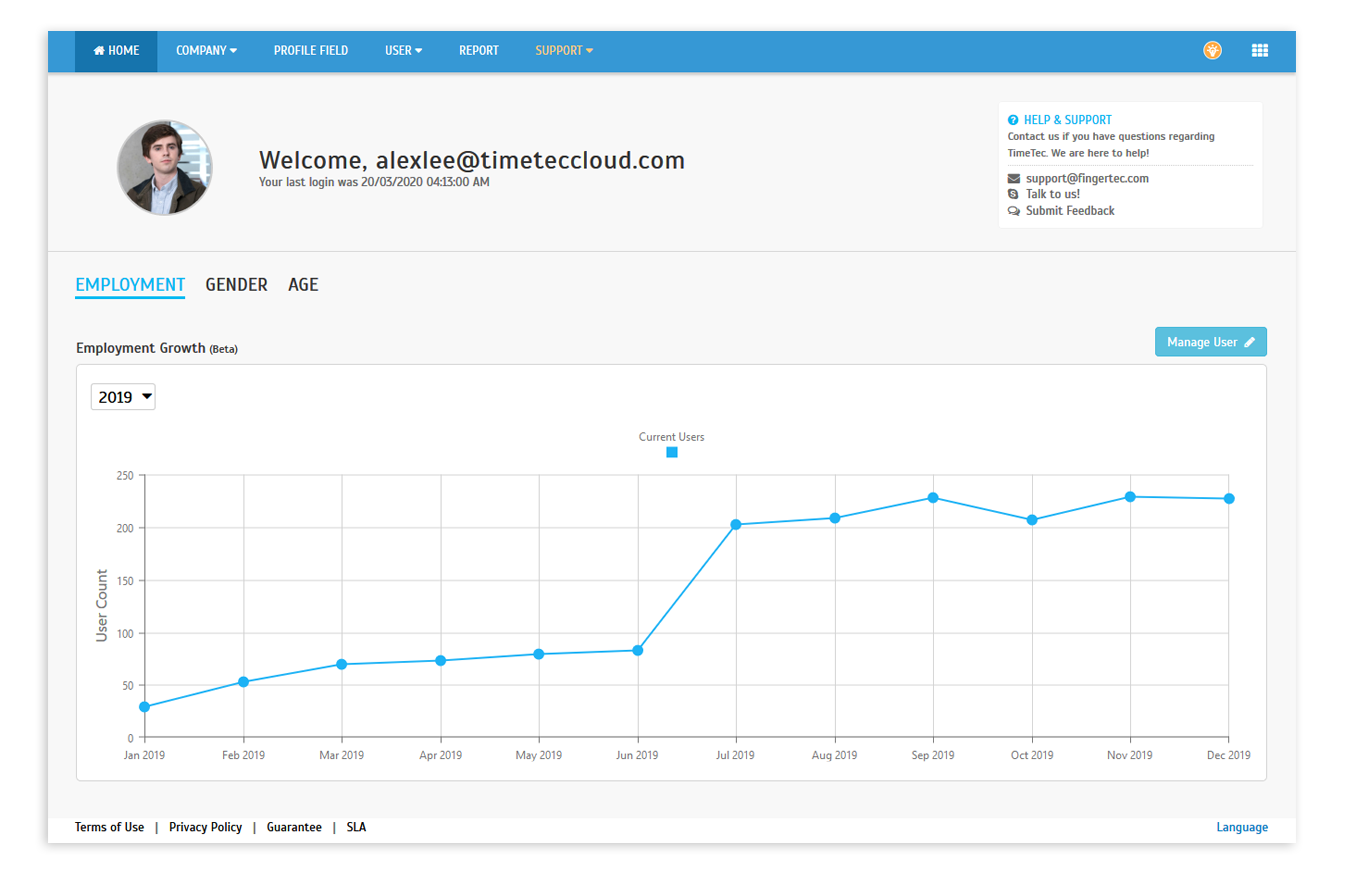
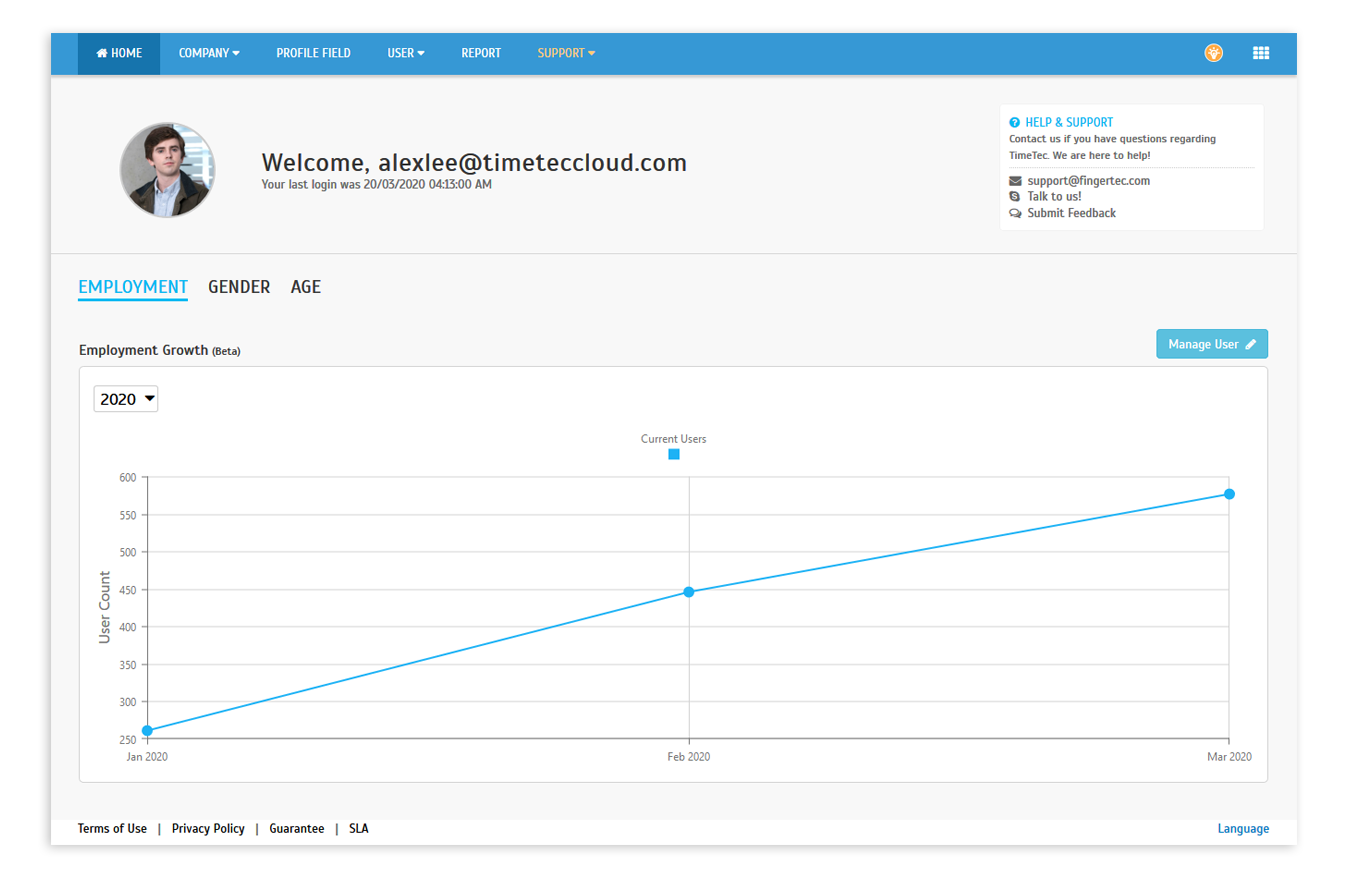
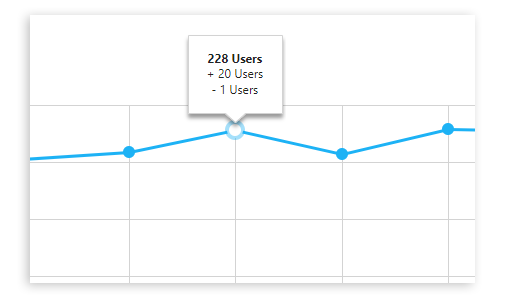
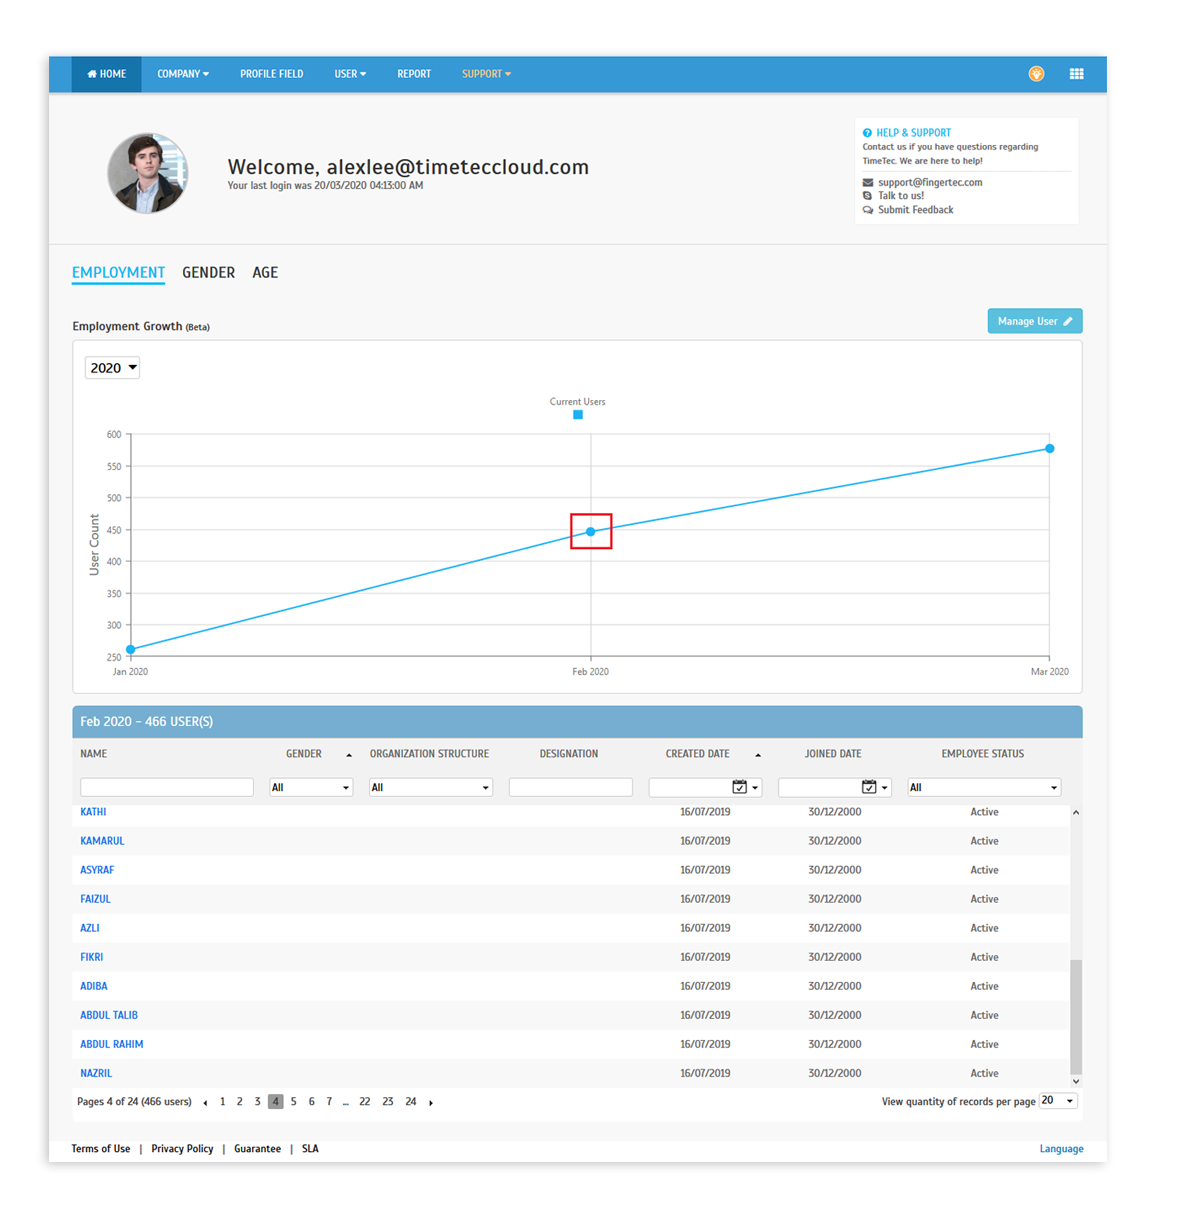
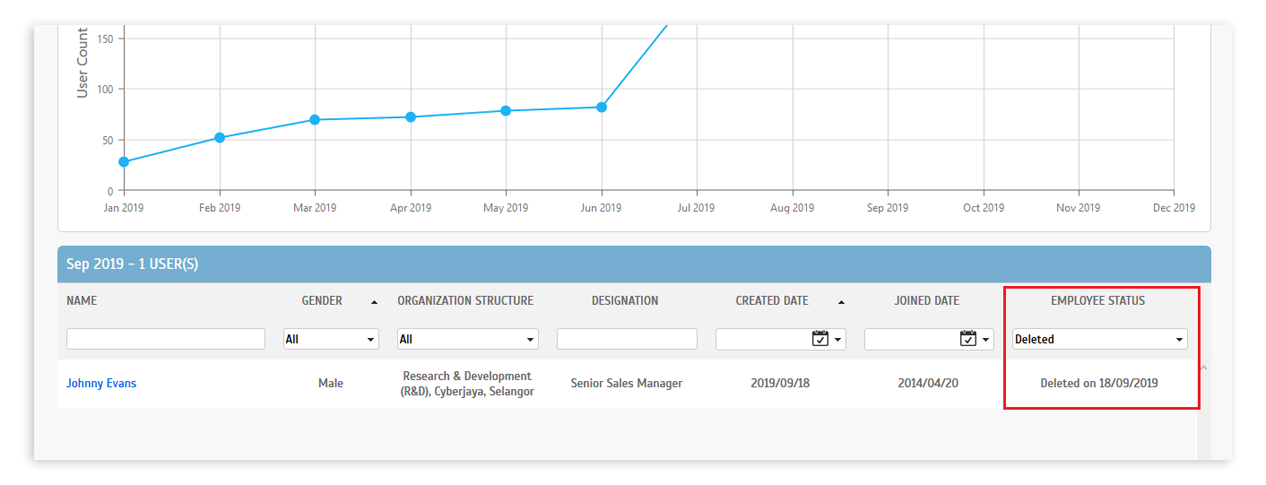
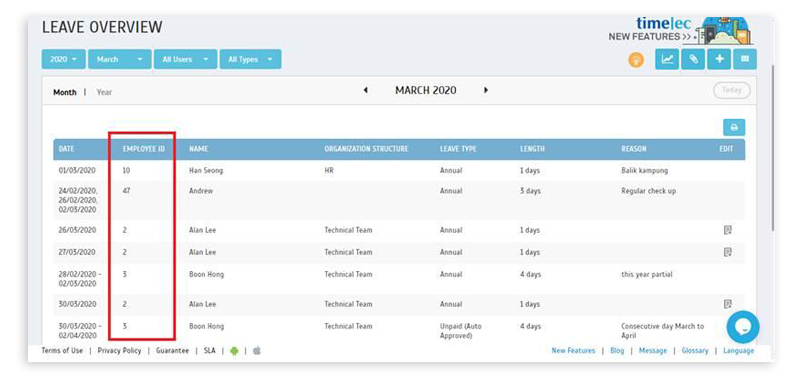
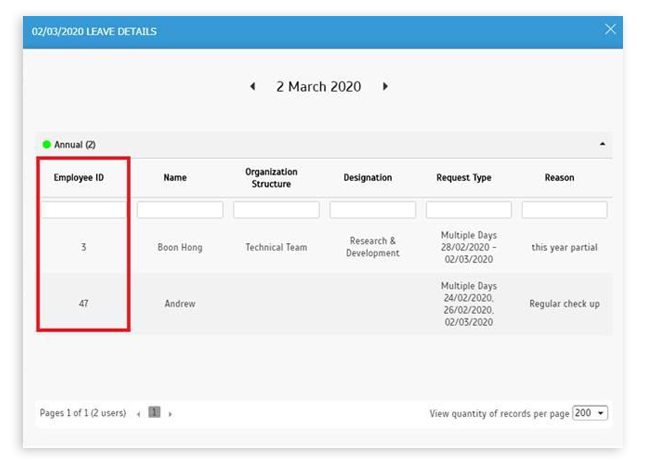
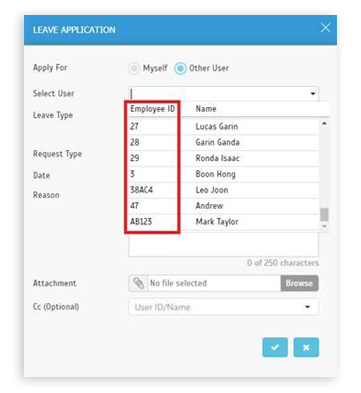
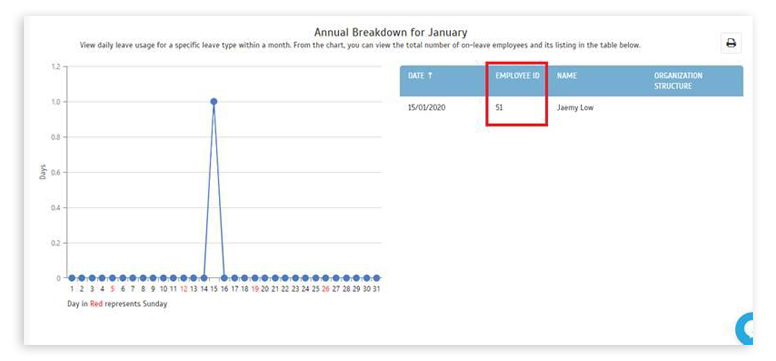
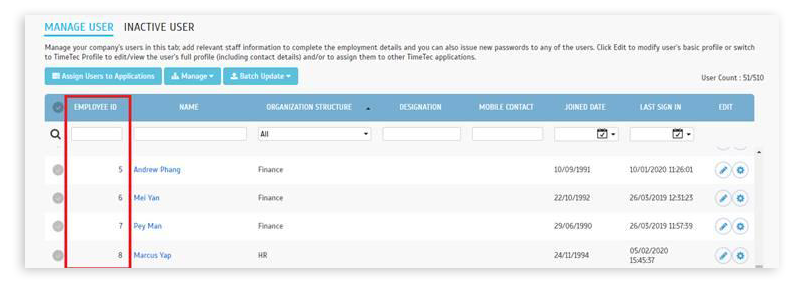
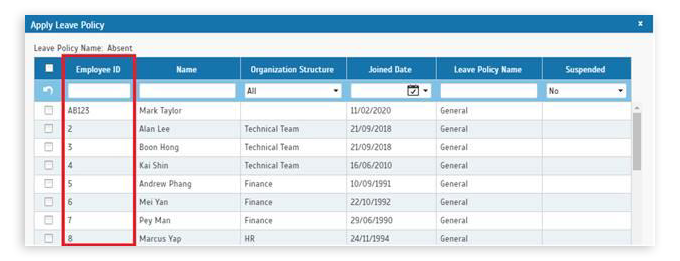
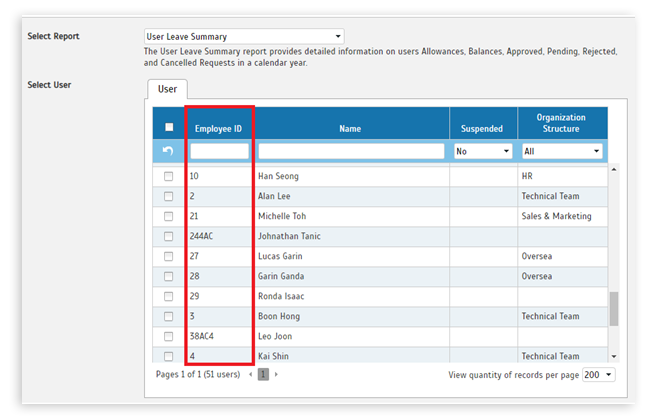
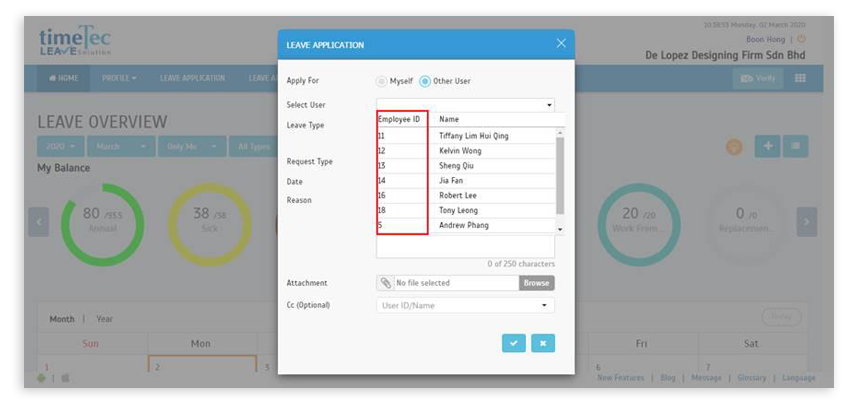
| By default, the primary user identification throughout TimeTec Leave is the User ID. However, we’ve recently added a new function at the System Settings which allows users to choose Employee ID instead of User ID. The changes will affect the display in some of the modules such as Organization Structure, Profile Field, Manage User, Inactive User, Hierarchy and more. Please refer to the images below for further details:
|
a. Company > System Settings > General Settings- Display User ID/Employee ID
Added setting for Admin to decide whether to view User ID or Employee ID. |
 |
 |
| b. Examples of the affected pages when viewing the change at “Display User ID / Employee ID” settings |
| Admin view |
| i. Dashboard |
 |
 |
 |
| ii. Leave Analysis |
 |
| iii. Manage User |
 |
| iv. Leave Policy > Assign User |
 |
| v. Approval > Leave Approval |
 |
| vi. Report > All report’s User filter |
 |
 |
| User view |
| i. Dashboard > Apply On Behalf > User List Filter |
 |
| 2. New Feature: iCalendar Setup (Link TimeTec Leave Calendar to Outlook & Internet Calendars) |
If you keep a digital calendar to manage your daily work schedule and track appointments, meetings, events, deadlines and such, make sure to check out our newly launched iCalendar function in TimeTec Leave. With this feature, you can use a link (iCal Feed URL) generated from the iCalendar Setup to share the leave information from TimeTec Leave to 3rd party calendar services such as Google Calendar, Outlook Calendar and etc.
During the setup, you can also choose to only include your personal leaves or for everyone. By centralising all information in your main calendar application, this will serve as an easy reference for making plans that involve yourself and/or your team.
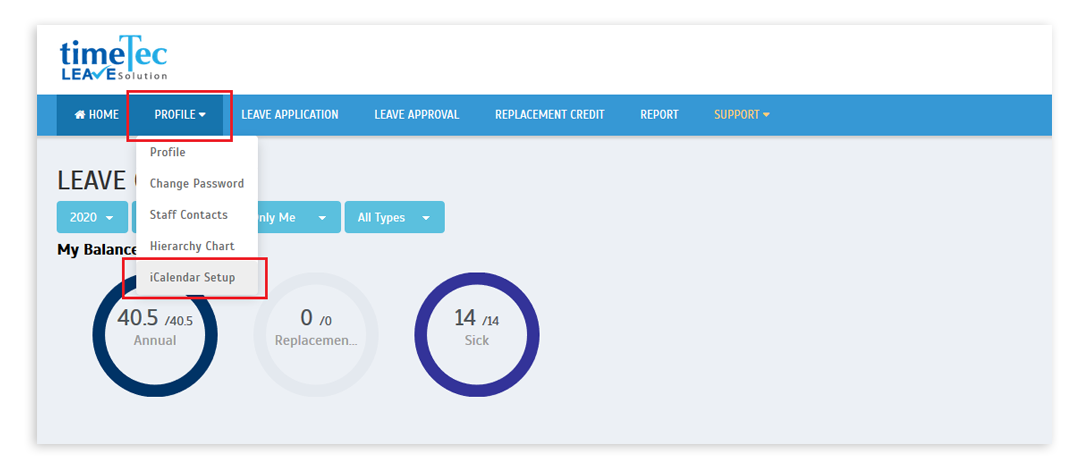
To start using this, login as a user and go to Profile > iCalendar Setup in the menu. Refer to the steps and images below for more details:
|
| a. iCalendar Setup |
| i. Menu > Profile > iCalendar Setup |
 |
| ii. iCal link and full section will only be displayed once the user turns on the toggle button (Default is off). |
 |
| iii. Settings will be displayed after iCalendar Setup is enabled. Once changes have been made with the options, the link will be regenerated. |
 |
| iv. iCal link will be generated after the user completes the settings and clicks the "Save" button. Then, copy the link. |
| b. Import leave information to Calendars |
| Microsoft Outlook |
| i. Paste the iCal link at the search engine to download the .ics file. |
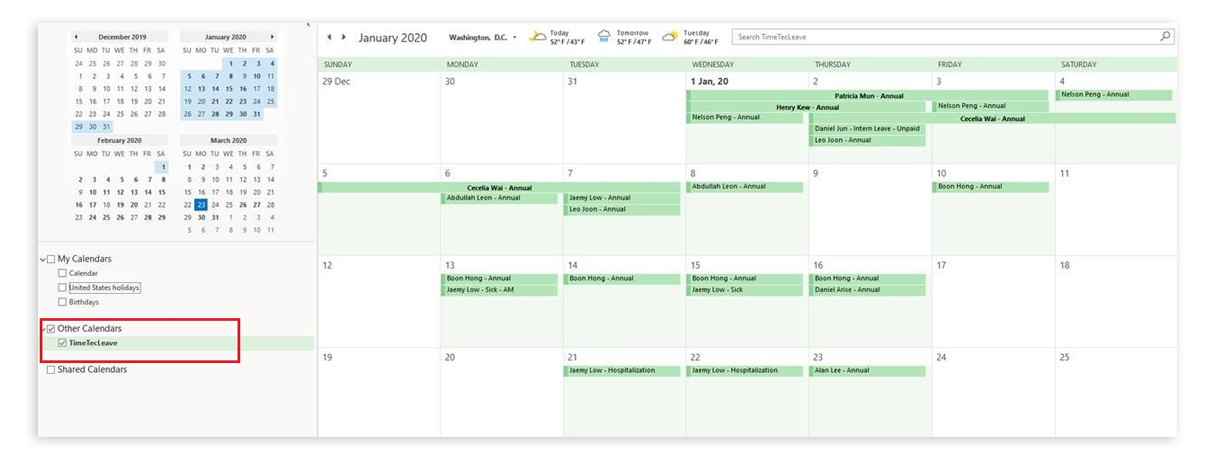
| ii. Open the .ics file using Microsoft Outlook. The imported calendar will be displayed as follows: |
 |
| Google Calendar |
| i. Log in to your Google account and proceed to the Google calendar. |
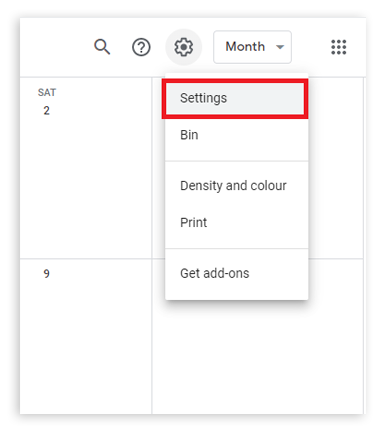
| ii. Click on Settings to add a new calendar. |
 |
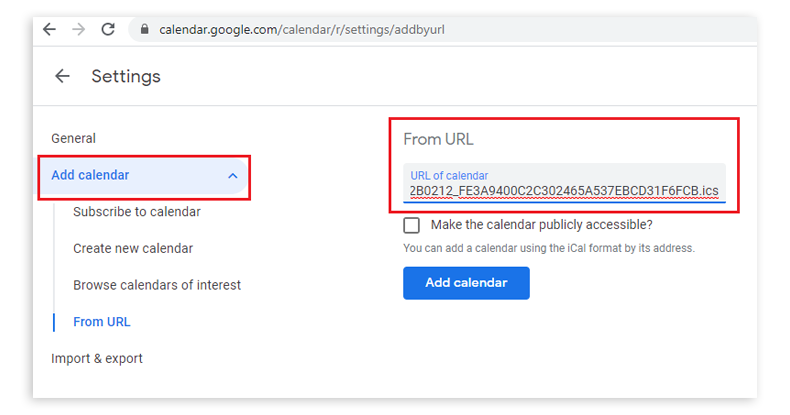
| iii. Proceed to "Add Calendar" > "From Url", paste the iCal link and click the "Add calendar" button. |
 |
| iv. TimeTec Leave information is now successfully imported to the Google Calendar. |
 |
| Yahoo Calendar |
| i. Log in to your Yahoo account and proceed to Yahoo Calendar. |
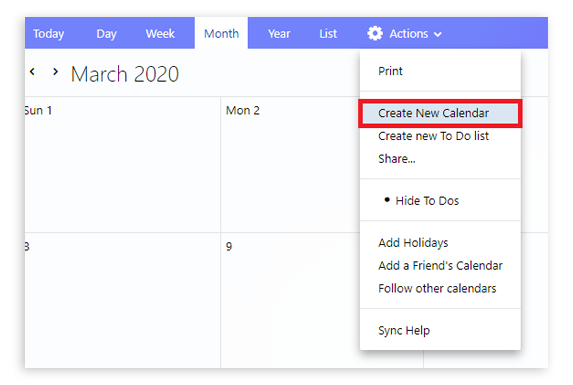
| ii. Click "Action", select "Create New Calendar" and name the new calendar. |
 |
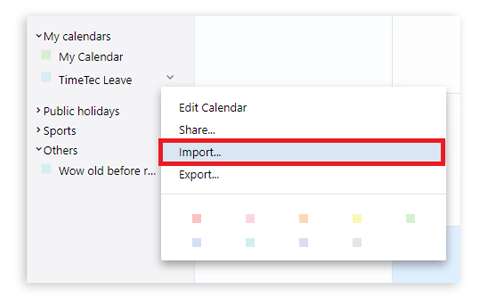
| iii. Click the new calendar and select "Import". |
 |
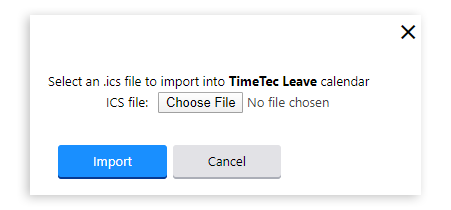
| iv. Choose the downloaded .ics file and click "Import". |
 |
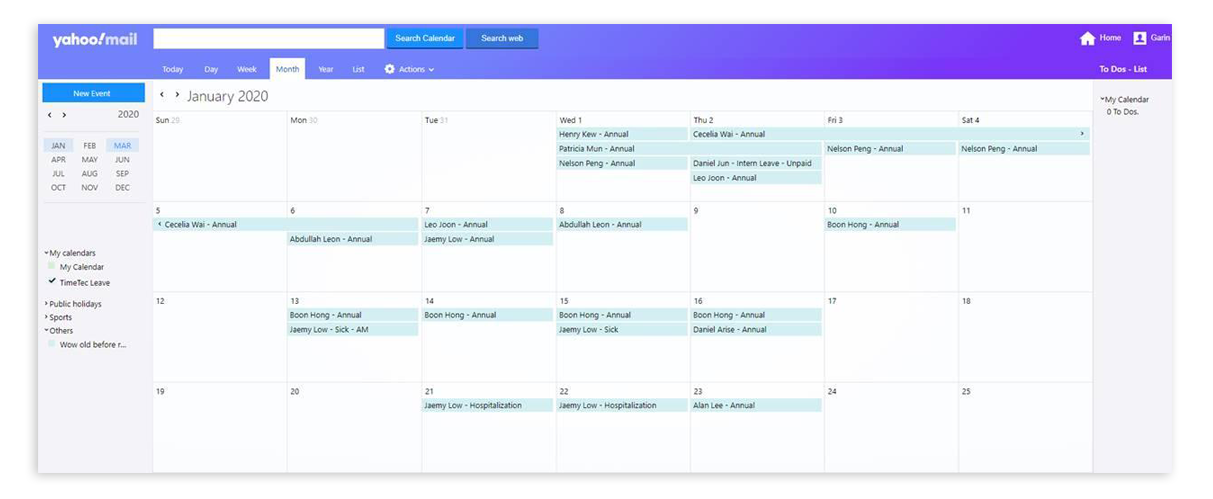
| v. TimeTec Leave calendar has completed the import to the Yahoo Calendar. |
 |
| 3. Manage User – Added Link for Technical Tips |
 |


